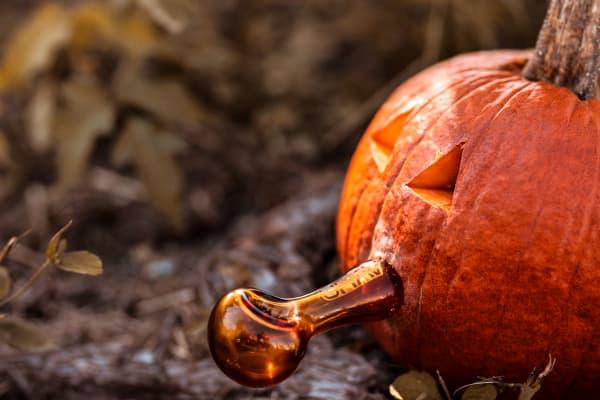
It’s seasonal, it’s uniquely American, and it’s the right thing to do with those smaller pumpkins that don’t have what it takes to become pies or jack-o-lanterns. GRAV has everything you need to make your pumpkin pipe the envy of the patch.
PHASE ONE:
Prep Your PumpkinStart with a pumpkin around 4-6 inches wide and 4-6 inches tall. Determine how hollow your pumpkin is by knocking around the stem. It should sound pretty thunky, getting less-so as you move towards the edges of the pumpkin. This will guarantee minimal scooping is required. If you think your pumpkin is plenty hollow or you don’t mind a little pumpkin guts in your smoke, skip ahead to Phase Two. If not, proceed with your pumpkin’s lobotomy.
Cut a circle about 2 inches in diameter around the stem. Angle your knife inwards towards the stem as you cut, so that the cap of the pumpkin will sit back into the pumpkin without falling through.
Get in there and start scooping. Use a special pumpkin scraping tool (available pretty much everywhere this time of year) or a spoon with a sharp edge. When you’re finished, put the cap back on your freshly gutted pumpkin.
PHASE TWO:
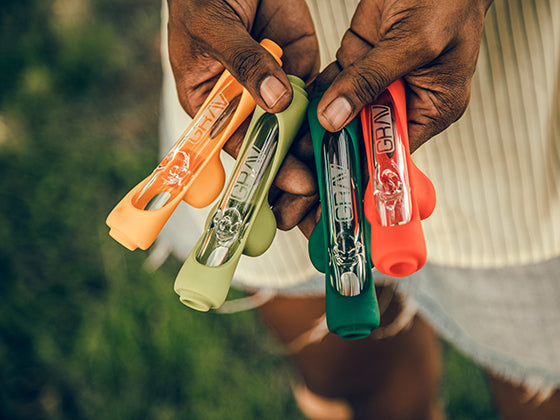
Assemble the MaterialsFor it to really be a GRAV Pumpkin Pipe, you’ll need a 14mm Cup Bowl or Funnel Bowl and a GRAV writing pen (you can buy GRAV pens in a pack of 10, or you can get one as a free gift at check-out with any order that’s under $100). You’ll need to be willing to lose your pens writing abilities - a worthy sacrifice in the pursuit of Pumpkin Pipe.
The opening at the writing end of the pen is plenty wide enough to inhale through. However, the opening at the other end is considerably more narrow. On some pens, it’s too narrow to get a good pull. On others, it’s perfect. Eyeball the narrow end of your pen before you take it apart to see if you’ve got a viable straw. If your pen doesn’t measure up, you can use a metal straw or even a 3.3” GRAV downstem as your mouthpiece.
Using scissors for leverage, slowly push the pen’s tip to the side until it starts to pull out of the glass sheath. If you’re too forceful, you might snap the ink cartridge and make a mess. This is Pumpkin Pipe we’re talking about; the stakes have never been higher.
PHASE THREE:
Plug and PlayPhew, you’re past the tough part. All downhill from here. On one side of the pumpkin, cut or drill a hole that will snugly fit the joint of your 14mm bowl. The hole should angle downwards, as it would in a traditional beaker. Plug in that bowl. (For extra credit, you can also put in a 3.3” Downstem if your pumpkin is deep enough and turn the whole assembly into a full-fledged water pipe. Make sure the downstem goes all the way down to the base of the pumpkin chamber, add some water through the hole in the top of the pumpkin, and plug your bowl into the downstem.)
On the opposite side of the pumpkin, cut or drill a hole that will snugly fit the pen or straw you’ll be using as a mouthpiece. Plug in the mouthpiece.
Pack your bowl, light it up, and start smoking pumpkin spiced goodness. You’re welcome. Happy harvest everybody!

